Get Started with Shining Android Data Recovery
Three Steps to Recover Data from Android:
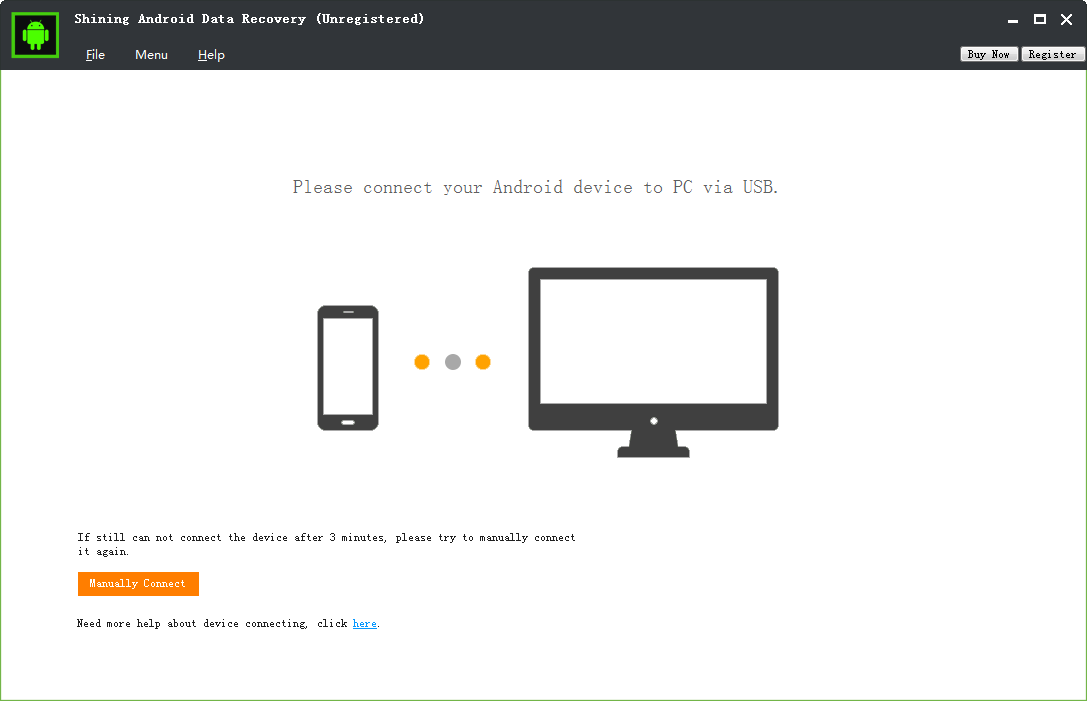
Step1 Launch Shining Android Data Recovery
Download, install and run Shining Android Data Recovery. Connect your Android Phone or Tablet to computer and enable USB debugging.
For users using Android version 2.3 or earlier: tap on Settings > Applications > Development. Click the box next to USB Debugging.
For users using Android version 3.0 to 4.1: tap on Settings > Developer Options. Click the box next to USB Debugging.
For users using Android version 4.2 or later: tap on Settings > About Phone > Build Number 7 times. Tap on. This should enable the developer mode, and your device informs you of the same with the message "You are under developer mode". Go back to the Settings > Developer Options. Check the box next to USB Debugging.
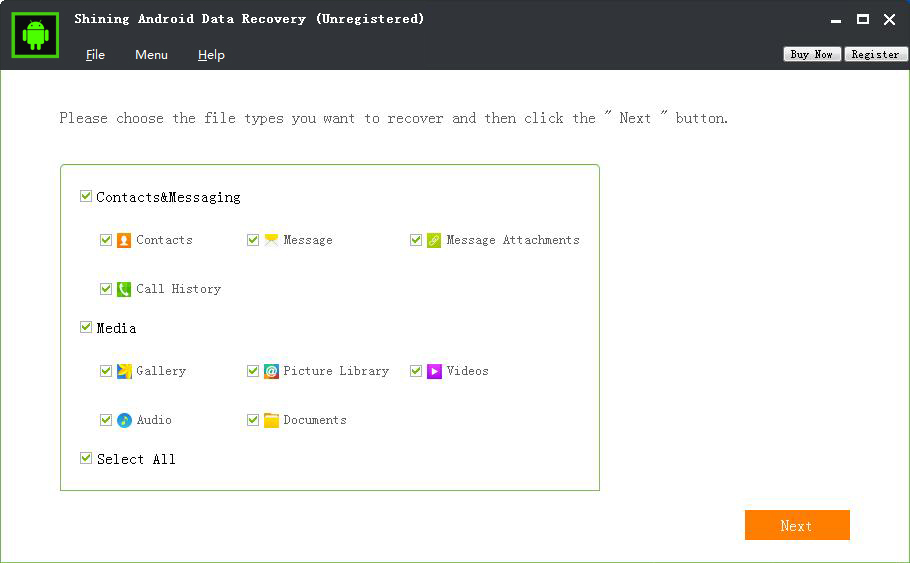
Step2 Select file types to recover.
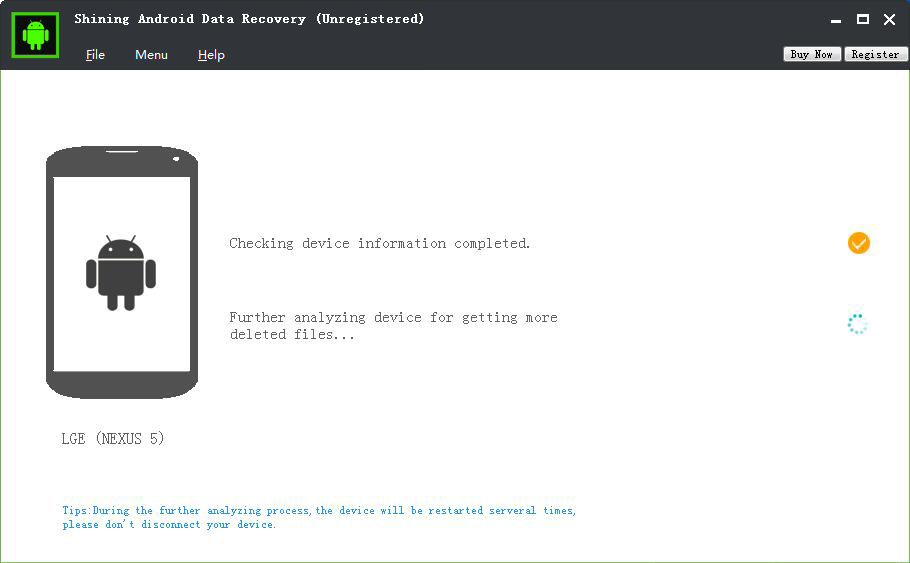
Click file types you want to recover, such as contacts, messages, messages attachments, call logs, photos, gallery, picture library, videos, audios and other documents. Then click "Next" button to scan the selected Android data.
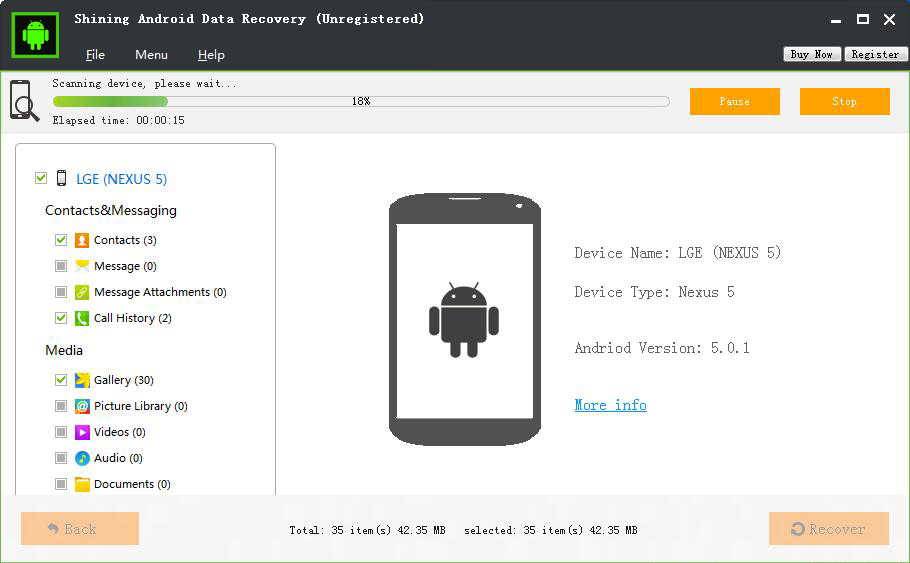
Step3 Preview and Recover Data on Android Phone
After scan, the result is displayed in the main window in categories. Next, you can choose corresponding files to preview and recover.
Related Articles
-
How to Root My Android Phones and Tablets
2017-12-25 15:21:50

Sandy - Three ways to root your Android Phones and Tablets with the help of Kingo Root, Root Android Phone and KingRoot APK.
-
How to Recover Files from External Hard Drive
2017-12-11 09:27:50

Theodore - Shining External Hard Drive Data Recovery software can recover formatted, erased, dead, broken or not detected external hard drives.